Embarking on the journey to create your very own scrapbook room is akin to crafting a masterpiece – Yes. I have my very own Scrapbook Room and I’m going to tell you how I did it.
My husband and I combed the Edmonton real estate market for what seemed like forever. We couldn’t find any houses that met my scrapbooking needs. I suppose that’s not surprising. I have A LOT of scrapbooking supplies … collected over decades at clearance sales, going-out-of business sales, and even just regular sales at my favourite scrapbooking shops. The solution – build a custom house with a scrapbooking room. And we ended up doing just that. TWICE. My room improved with EVERY build.
Here it is …
1. Planning
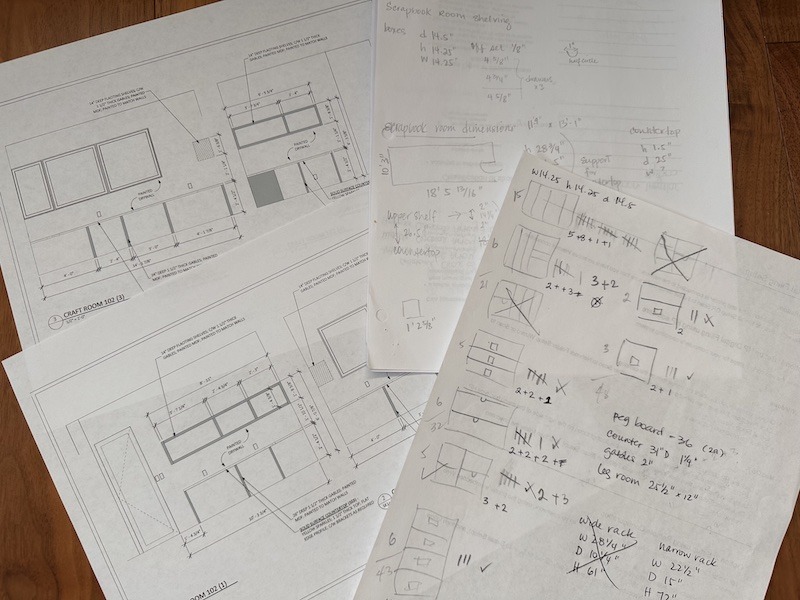
Upon receiving the precise dimensions of the empty room from our builder, I embarked on a thoughtful creative process. Armed with a clear understanding of the items I needed to accommodate and a vision of the desired aesthetic, I carefully retrieved my tape measure and proceeded to sketch my plan. My objective was to establish an environment in which every item could be elegantly displayed, allowing for easy visibility and access. This approach ensures that every craft product remains purposefully accessible, adhering to the principle that if an item is not readily seen, it will go unused.
2. Electrician
I strategically installed a minimum of two electrical outlets per countertop, totaling seven, accounting for one of the countertops being of a smaller size. This design accommodates the power requirements for an array of essential machines including the Circut, photo printer, laminator, computer, and cell phone, ensuring seamless functionality. Additionally, it allows for convenience when hosting friends for fun scrapbooking retreats.
As for the decision not to discreetly position the outlets beneath the counterop concealing cords through a countertop aperture, I opted against this approach based on prior experience. I found that for devices requiring temporary power, such as phones, the laminator, and the laptop, it proved to be rather cumbersome to consantly reach down and plug or unplug them and then thread them through the hole in the the quartz. Instead, I resorted to temporarily draping cords in front of the countertop ledge, which was just a mess. In contrast, having the outlets readily accessible on the surface has proven to be an efficient solution, allowing for convenient and unobtrusive access to power sources.
Additionally, I prioritized the inclusion of undercabinet lighting, enhancing both the functionality and aesthetics of the workspace.
3. Finishing Carpenter
I provided the finishing carpenter with a detailed SketchUp rendering, complete with precise measurements, outlining my vision for the craft room’s layout. This comprehensive guide served as the blueprint for crafting the essential components: the supports for the countertop and the wall-mounted open cabinet.
With the installation of the countertop supports completed to perfection, the stage was set for the next crucial step in the process—laying down the flooring.
4. Countertop
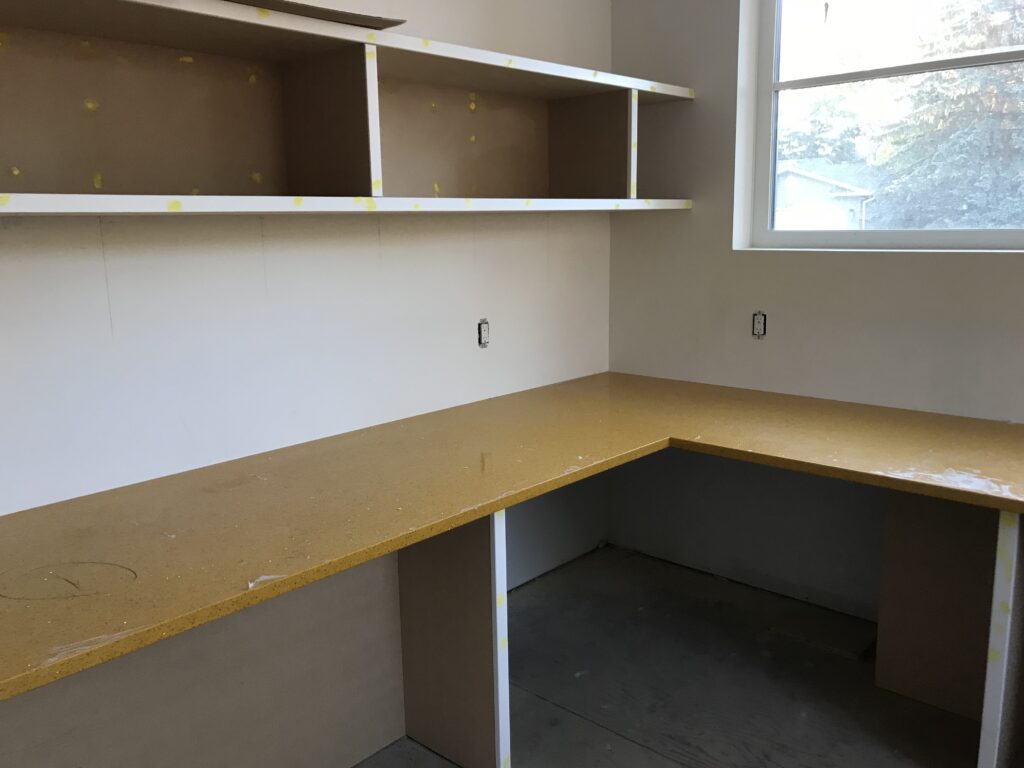
The installation of securely anchored countertop supports facilitated the seamless placement of the fun quartz countertop. While deliberating on this particular feature, I contemplated the idea of using granite. However, I encountered a limitation: granite lacked the vibrant and playful color options that I envisioned.
Recognizing that I had landed on a decidedly colourful choice, I fully acknowledged that such a bold choice may not necessarily align with conventional home resale standards. Nevertheless, I remained steadfast in my belief that the essence of a craft room should be one of joy, inspiration, and creativity. With this ethos guiding my decision, I wholeheartedly embraced the spirited and whimsical allure of a vibrant yellow countertop.
5. The Shelving
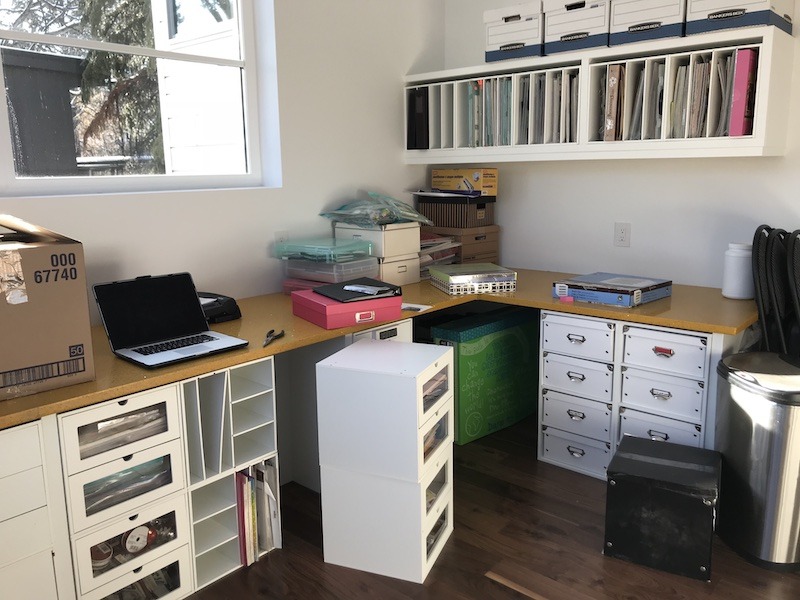
Michael’s. Yes, all of those square white organizer shelves are from Michael’s. Do you want to know how many boxes I have in this room? FORTY-EIGHT 😳
Here’s the math:
- 48 boxes x $40.00 per box = A LOT
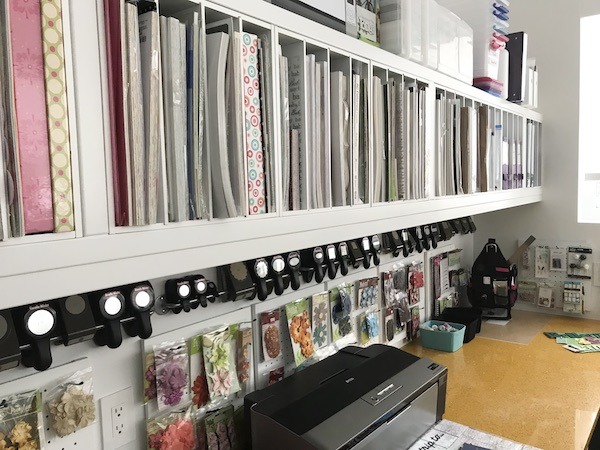
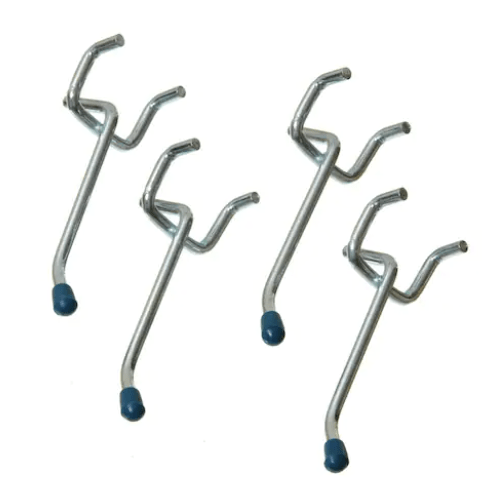
- 30 peg boards x $17.00/2pk = A LOT
I couldn’t quite bring myself to pay FULL PRICE of any of it. A rule I live by when shopping at Michael’s – Never buy anything at full price. And so over time, I collected these boxes and peg board using the ONE ITEM for 40% coupon (back in the day they gave these out like candy). It took dedication, perserverance, and patience. But I did it!
- Micheal’s still has a similar line, but different options now
- IKEA has a good peg board & accessory system
6. Other sources I acquired the building materials for my specialized room:

- IKEA:
- Home Depot:
- Habitat For Humanity Restore: (I love browsing this store whenever I can . So many neat things!) Stock turns over quickly!

And here’s the finished product:
And there you have it—a culmination of meticulous planning and thoughtful design. With every storage unit fitting like a glove, I eagerly set about the task of populating the shelves with my entire treasure trove of scrapbooking supplies. Not surprisingly, every item found its place, harmonizing within this creative haven I had meticulously crafted ❤️
